Home Assistant: make Chromecast, HomeKit and Sonos devices show up on their own
· Updated 18 September 2026 · SparkBox team
You installed Home Assistant, opened Settings → Devices & services, and the Discovered list is empty — no Chromecast, no HomeKit bridge, no Sonos, even though they are all on the same Wi-Fi. Nothing is broken. Home Assistant is running on its own Docker network, and the little "here I am" messages those devices send never reach it. One switch fixes that.
The 10-second version: Classic dashboard → Settings → the Home Assistant section → set Use host networking for device discovery (Chromecast, HomeKit, Sonos) to On → Save. (If your dashboard is the new layout, press Classic dashboard at the top first — the per-app settings only live there for now.) Or, in a terminal on the server: sudo sparkbox set-env HOMEASSISTANT_HOST_NETWORK 1 then sudo sparkbox up homeassistant. Either way Home Assistant restarts by itself; give it a minute, then look at Devices & services again.
1. Why the devices don't show up
Chromecasts, Apple TVs, HomeKit bridges, Sonos speakers, Philips Hue hubs and most smart TVs announce themselves by broadcasting on the local network — the technical names are mDNS (Bonjour/Zeroconf) and SSDP. Home Assistant listens for those broadcasts; that is what fills its Discovered list.
A broadcast only travels on the network segment it was sent on. Every app on your server runs on its own private Docker network so the apps stay separated from each other — good for security, but that private network is a different segment from your Wi-Fi. The broadcasts stop at the edge of it. Home Assistant is listening, nothing arrives, and you end up typing in IP addresses by hand.
Host networking means the Home Assistant container uses the server's own network directly instead of a private one. It then sits on the same segment as your phone, your TV and your speakers, hears every broadcast, and discovery works the way it does on a dedicated Home Assistant box. This is the setup Home Assistant's own Docker documentation asks for.
2. Turn it on
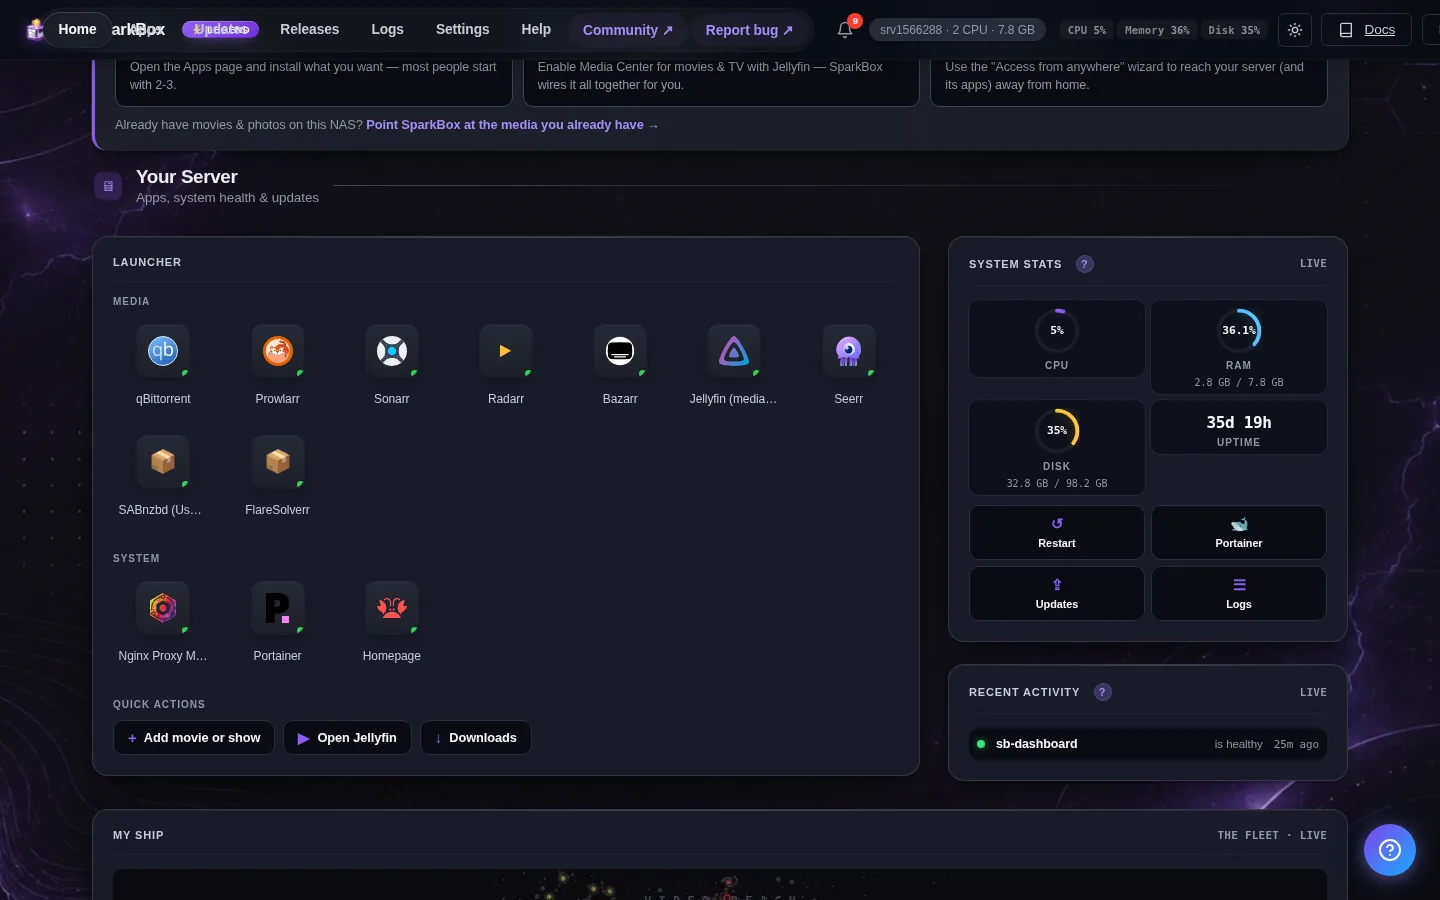
- Open your SparkBox dashboard. If it is the new layout, press Classic dashboard at the top — the per-app settings are only in the Classic dashboard for now (it is the same server, just the older screen; you can switch back any time). Then click Settings.
- Scroll to the Home Assistant section. (It is there once Home Assistant is installed; the section is named after the app.)
- Set Use host networking for device discovery (Chromecast, HomeKit, Sonos) to On.
- Click Save. A message tells you Home Assistant is restarting — the container is recreated with the new network setting, which takes 30–60 seconds.
- Open Home Assistant, go to Settings → Devices & services. Devices that were invisible before now appear under Discovered with an Add button. If a device you know is on does not appear within a couple of minutes, power-cycle that device — most only re-announce themselves when they start up.
Prefer the terminal, or running headless? Two lines on the server:
sudo sparkbox set-env HOMEASSISTANT_HOST_NETWORK 1
sudo sparkbox up homeassistant
Same result: the first line saves the setting, the second recreates Home Assistant with it. The setting lives in /opt/sparkbox/.env and survives updates, so you do this once — and the Classic dashboard's switch shows it as On afterwards, so saving other settings there later will not flip it.
3. Check it worked
- In Home Assistant: Settings → Devices & services → the Discovered section lists your devices. That is the real test.
- On the server:
sudo sparkbox doctorprints a [Home Assistant] section that reads Home Assistant is on host networking by your choice. If instead it says the change has not been applied yet, the restart did not happen — runsudo sparkbox restart homeassistant. If it says Docker Compose on this server is too old to apply it, see section 7: the switch needs Docker Compose 2.24 or newer, and nothing changes until it is updated. - The blunt check:
docker inspect sb-homeassistant --format '{{.HostConfig.NetworkMode}}'printshost.
4. What changes (and what doesn't)
- The address is the same. Home Assistant still answers at
http://<your-server-ip>:8123, and the dashboard's Open button keeps working — host networking binds the same port 8123 on the server directly. - Your data is untouched. Everything stays in
/opt/sparkbox/modules/homeassistant/config/. Automations, users, dashboards, history — all still there after the restart. - Home Assistant leaves the internal app network. Inside Docker the other apps could reach it as
sb-homeassistant; with host networking that name no longer exists. This only matters if you gave Home Assistant a custom domain — see the next section. - It shares the server's ports. With a private network, only port 8123 was mapped through. Now the container can see every port on the server, and every port it opens is open on the server. That is normal for Home Assistant (it is how the official install works) — it just means it is no longer walled off from the rest of the box. If something else on the server already uses port 8123, Home Assistant will not start until that is moved.
- On a server with a public internet address (a rented VPS rather than a box at home), port 8123 is now an open port on the internet like any other. Keep it behind your VPN, and read what
sudo sparkbox doctorsays in two places. Its [Home Assistant] section always states the mode: on host networking by your choice. Its [Internet exposure] section deals with the admin surfaces first — while the dashboard, Portainer or the VPN admin page still answer on every network, that section warns about those and tells you to runsudo sparkbox lockdown, and Home Assistant is not named in it yet. Once the admin surfaces are closed, it lists homeassistant (host networking) among the app ports that answer on every network — a warning on a public address, an information line on a home network. This guide covers closing things down.
5. If Home Assistant has a custom domain
The reverse proxy (Nginx Proxy Manager, set up under Settings → Custom Domains) reaches each app by its container name on the internal network — for Home Assistant that was sb-homeassistant on port 8123. With host networking that name is gone, so the proxy entry has to point at the server itself instead:
- Find your server's LAN IP — the address you type to open the dashboard, for example
192.168.1.20. The dashboard shows it on its Network tile. - Open Nginx Proxy Manager from the dashboard's Apps page, go to Hosts → Proxy Hosts, and edit the Home Assistant entry.
- Change Forward Hostname / IP from
sb-homeassistantto your server's LAN IP. Leave Forward Port at8123. Save.
Home Assistant also refuses proxied connections it has not been told about. If you see a 400 Bad Request after this, add the proxy to Home Assistant's configuration.yaml (in /opt/sparkbox/modules/homeassistant/config/) and restart it:
http:
  use_x_forwarded_for: true
  trusted_proxies:
- 172.20.0.0/24(172.20.0.0/24 is the internal network the proxy lives on. If you were already proxying Home Assistant before, you have this block already — leave it as it is.)
If your server's IP can change (most home routers hand out addresses by DHCP), reserve it in your router so the proxy entry does not go stale. Same advice as for any address you rely on.
6. Going back
Classic dashboard → Settings → Home Assistant → set the switch to Off → Save. Home Assistant is recreated on its own Docker network again, data untouched. Devices you added while discovery was on stay configured. If you changed a custom-domain entry in the previous section, change it back to sb-homeassistant.
Terminal: sudo sparkbox set-env HOMEASSISTANT_HOST_NETWORK 0 then sudo sparkbox up homeassistant.
7. Where people get stuck
- "The switch isn't in my Settings." Two usual reasons. If your dashboard is the new layout, it has no per-app settings yet: press Classic dashboard at the top, then Settings → Home Assistant (or use the two terminal lines in section 2). Otherwise update first (Updates on the dashboard, or
sudo sparkbox update) — the switch arrived in late August 2026. Before that, the only way was a hand-written override file at/opt/sparkbox/state/overrides/homeassistant.yml; if you made one, delete it and use the switch — they do the same thing, and one source of truth is easier to reason about later. - "doctor says Docker Compose on this server is too old to apply it." The switch uses a Docker Compose feature that arrived in version 2.24 (January 2024). On an older Compose, SparkBox leaves Home Assistant on its normal network on purpose — applying the change there would stop the app from starting at all — and tells you so. Update Docker Compose: on a NAS, update Docker in its app store; on Ubuntu or Debian,
sudo apt update && sudo apt install docker-compose-plugin. Thensudo sparkbox up homeassistant.docker compose versionshows what you have. - "I saved it and nothing changed." Run
sudo sparkbox doctor. If the Home Assistant section says the change has not been applied, runsudo sparkbox restart homeassistant. If it says host networking is on and devices still do not appear, the problem is on the device side — see the next two points. - "Some devices appear, one doesn't." Discovery only sees devices on the same network segment as the server. A device on a guest Wi-Fi, a separate VLAN, or a mesh node that isolates clients is on a different segment and stays invisible; it can still be added by IP address by hand. Also many devices only announce themselves when they power on — unplug it for ten seconds.
- "HomeKit devices still won't pair." Being discovered and being pairable are different steps. A HomeKit accessory that is already paired to an Apple Home cannot pair to Home Assistant as well until you remove it from Apple Home (or use Home Assistant's HomeKit Bridge the other way round, which exposes Home Assistant devices to Apple Home).
- "My custom domain gives 502 / 400 now." 502 means the proxy is still pointing at
sb-homeassistant— section 5. 400 means Home Assistant does not trust the proxy — thetrusted_proxiesblock in section 5. - "Home Assistant won't start at all after the change." Something else on the server owns port 8123.
sudo ss -tlnp | grep 8123names it. Stop it or move it, thensudo sparkbox restart homeassistant. Switching the toggle off also gets you running again while you sort it out.
Frequently asked
Why does Home Assistant in Docker not find my Chromecast, HomeKit or Sonos devices?
Those devices announce themselves with broadcast messages (mDNS and SSDP) that only travel on the network segment they were sent on. By default Home Assistant runs on its own Docker network — a separate segment — so the announcements never reach it. Host networking puts it on the server's own network so it hears them.
Does turning on host networking change the Home Assistant address?
No. It still answers on port 8123 at your server's IP, and the Open button keeps working. What changes is that it leaves the internal app network, so a custom domain pointed at sb-homeassistant has to be pointed at the server's LAN IP and port 8123 instead.
Is host networking safe?
On a home network, yes — it is what Home Assistant's own documentation recommends for Docker. The trade-off is that the app shares the server's whole port range instead of one mapped port. On a server with a public address, treat 8123 like any other open port and keep it behind your VPN. sparkbox doctor states the mode under its own [Home Assistant] section, and once the admin surfaces are closed its [Internet exposure] section lists Home Assistant among the app ports that answer on every network (section 4 has the exact wording for each case).
How do I switch back?
Turn the same switch off and save. Home Assistant is recreated on its own Docker network with its data untouched.
One switch, not a YAML file
This used to mean editing a compose override over SSH and knowing about Compose's !reset tag. Now it is a setting — Classic dashboard → Settings → Home Assistant, or two terminal lines — that restarts the app for you, tells the checkup what mode it is in, and can be switched back the same way.
Home Assistant on SparkBox: the setup card → Private home automation without Google or Alexa →
Questions, or did this not match your box?
Every guide here came from a real problem someone hit. If yours behaves differently, say so — that is how these get corrected, and how the fix gets prioritised.
We answer there rather than in a comment box, because that is where the people who have already solved it are.