Your first successful SparkBox setup
· Updated 18 September 2026 · SparkBox team
Start with one app and one small task. Once that works, you have a useful starting point for adding more.
1. Open the dashboard and choose one app
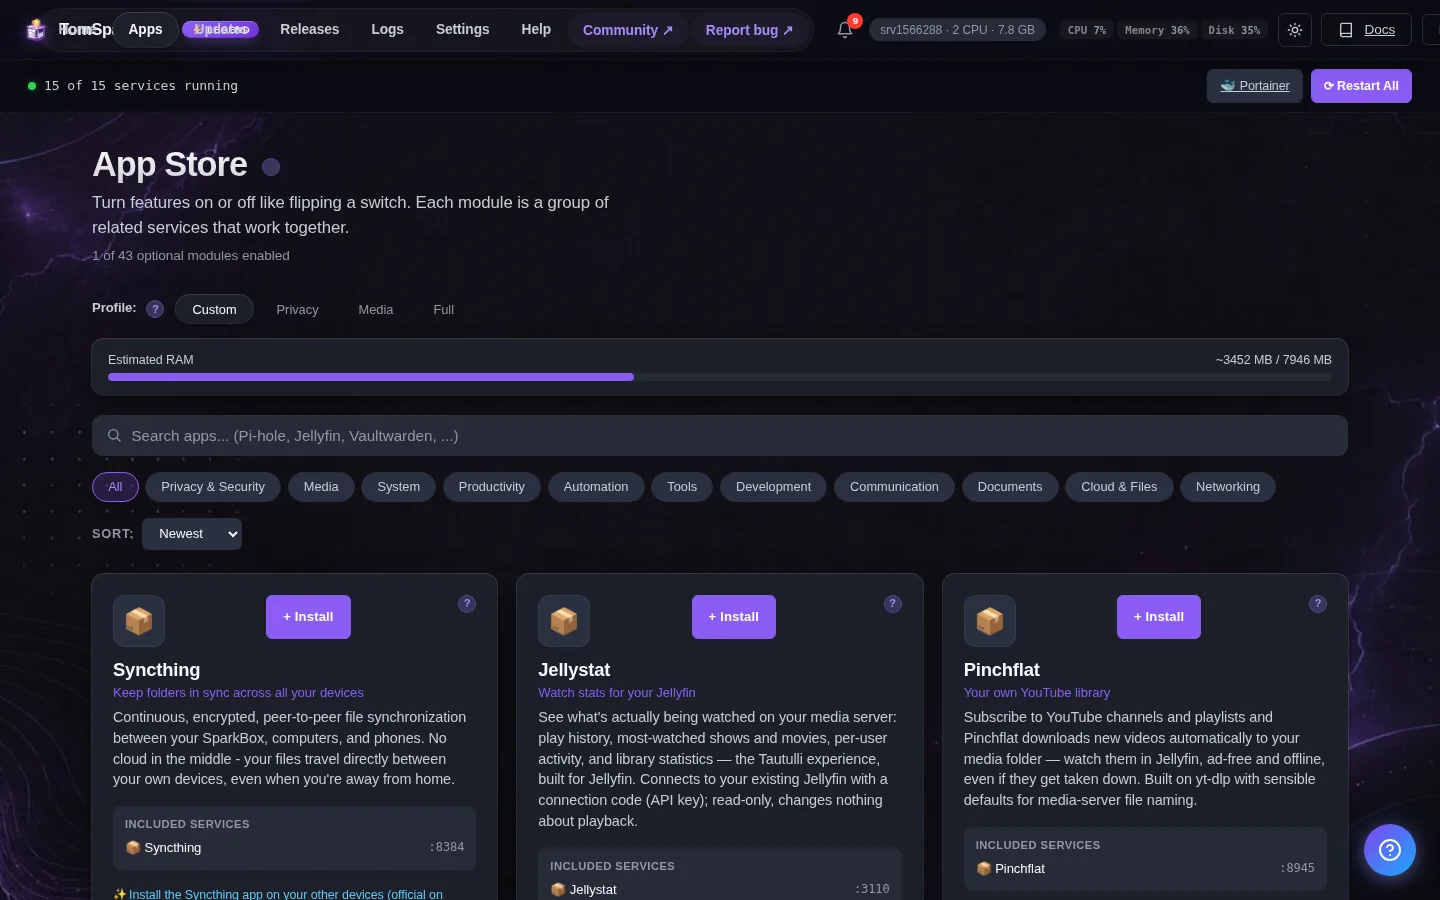
Finish the setup wizard, sign in, and open Apps. Pick the app you installed SparkBox to use. Wait for it to start, then open it from its app card. Find generated login details in Settings → Passwords.
2. Complete a small task with sample data
Save and reopen a note, upload and view a sample photo, or play a short video you own. A running container or a green health badge does not establish that your files, login, or playback work.
Repeat that task from another device on your home network using the box’s network address. Keep the dashboard on a trusted network while you get started.
3. If you chose media, check the connections
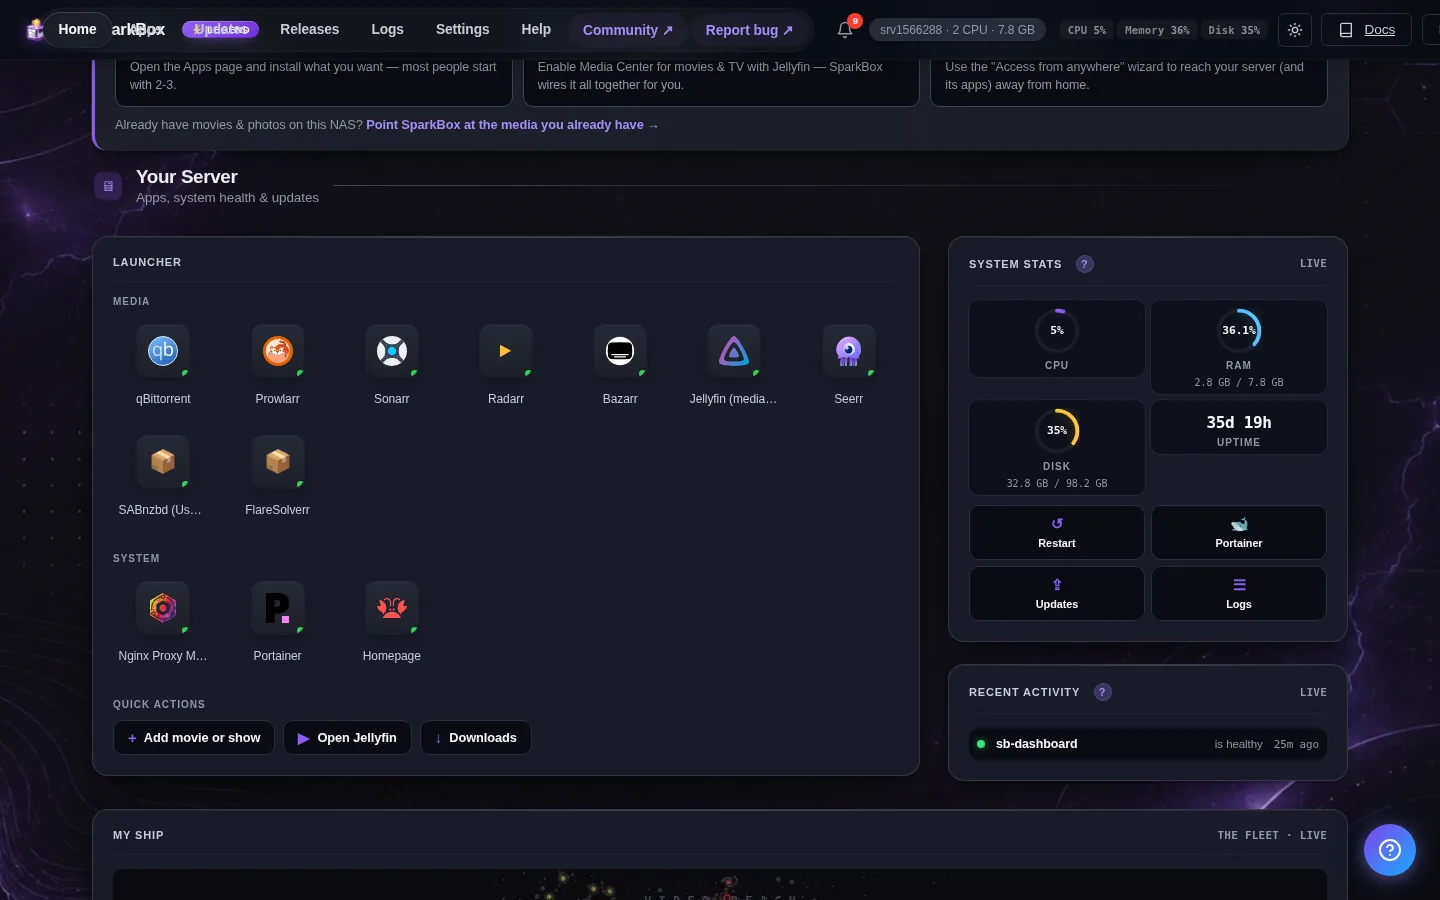
Open the Media Pipeline on Home. Check storage access and missing connections. Add your own search sources in Prowlarr before expecting automated downloads. Then follow a permitted sample item from request through download, import, and playback.
Add a search source in Prowlarr · Use an existing NAS media library safely
For existing NAS folders, grant the access the app needs without taking ownership away from the NAS’s other apps. Keep read-only libraries read-only unless you intend an app to write there.
4. Check repairs against the original problem
If you use Tom AI, describe the task that failed and approve a supported repair when appropriate. Afterward, retry that same task. A service restart or successful permission check alone does not prove a download imported or a video plays.
5. Make a recovery plan before adding valuable data
In Settings → Backup, check what your chosen backup includes before you create one. Media files are not included by default, the My Vault key is never included, and external mounts are not swept in. Keep a separate recovery plan for My Vault and any data outside the archive’s scope. The full matrix is in the docs: What a backup contains.
Store your recovery key somewhere you can access without this box. Keep a backup copy on another device or a configured offsite destination, and check for upload failures.
Verify archive checks the archive’s download, decryption, and integrity. Before depending on it, test a restore in a separate installation and confirm an app starts, accepts your login, and opens its data. Avoid overwriting your working installation for a practice restore.
Ready to add more
Your first app is ready when you can use it from your own device and know how its data can be recovered. Add another app when you have a reason to use it. Configure remote access deliberately after local access works.
Questions, or did this not match your box?
Every guide here came from a real problem someone hit. If yours behaves differently, say so — that is how these get corrected, and how the fix gets prioritised.
We answer there rather than in a comment box, because that is where the people who have already solved it are.