Vaultwarden: open it, first login, settings, fixes
· Updated 18 September 2026 · SparkBox team
Self-hosted Bitwarden-compatible password manager. Store passwords, secure notes, and TOTP codes on your own NAS — works with the official Bitwarden browser extension and mobile apps. This is the short card for it — the two minutes after you press Enable, and the page to come back to when something is off.
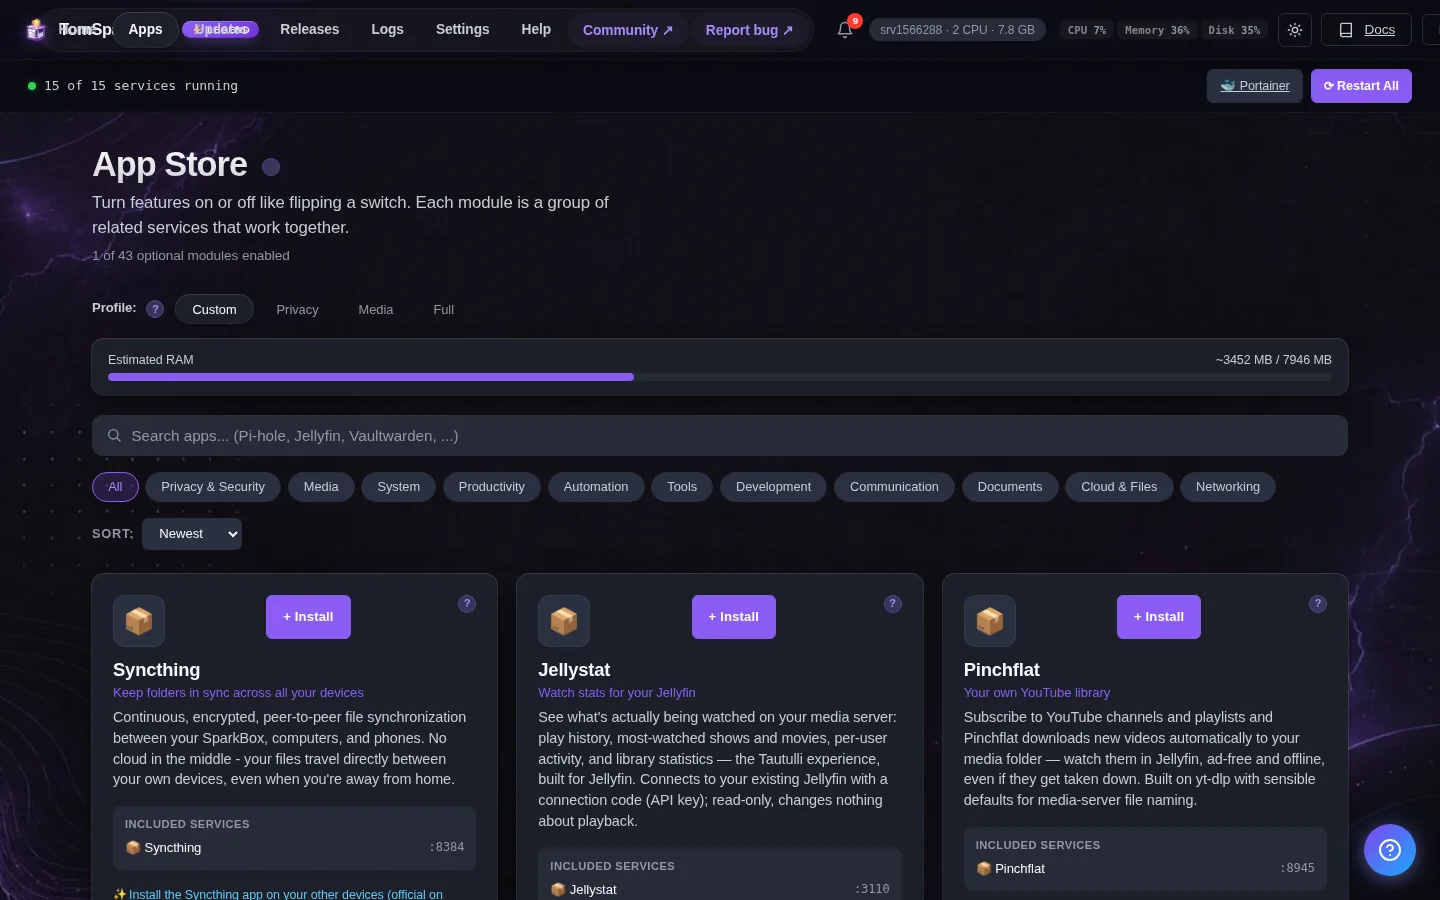
Before you turn it on
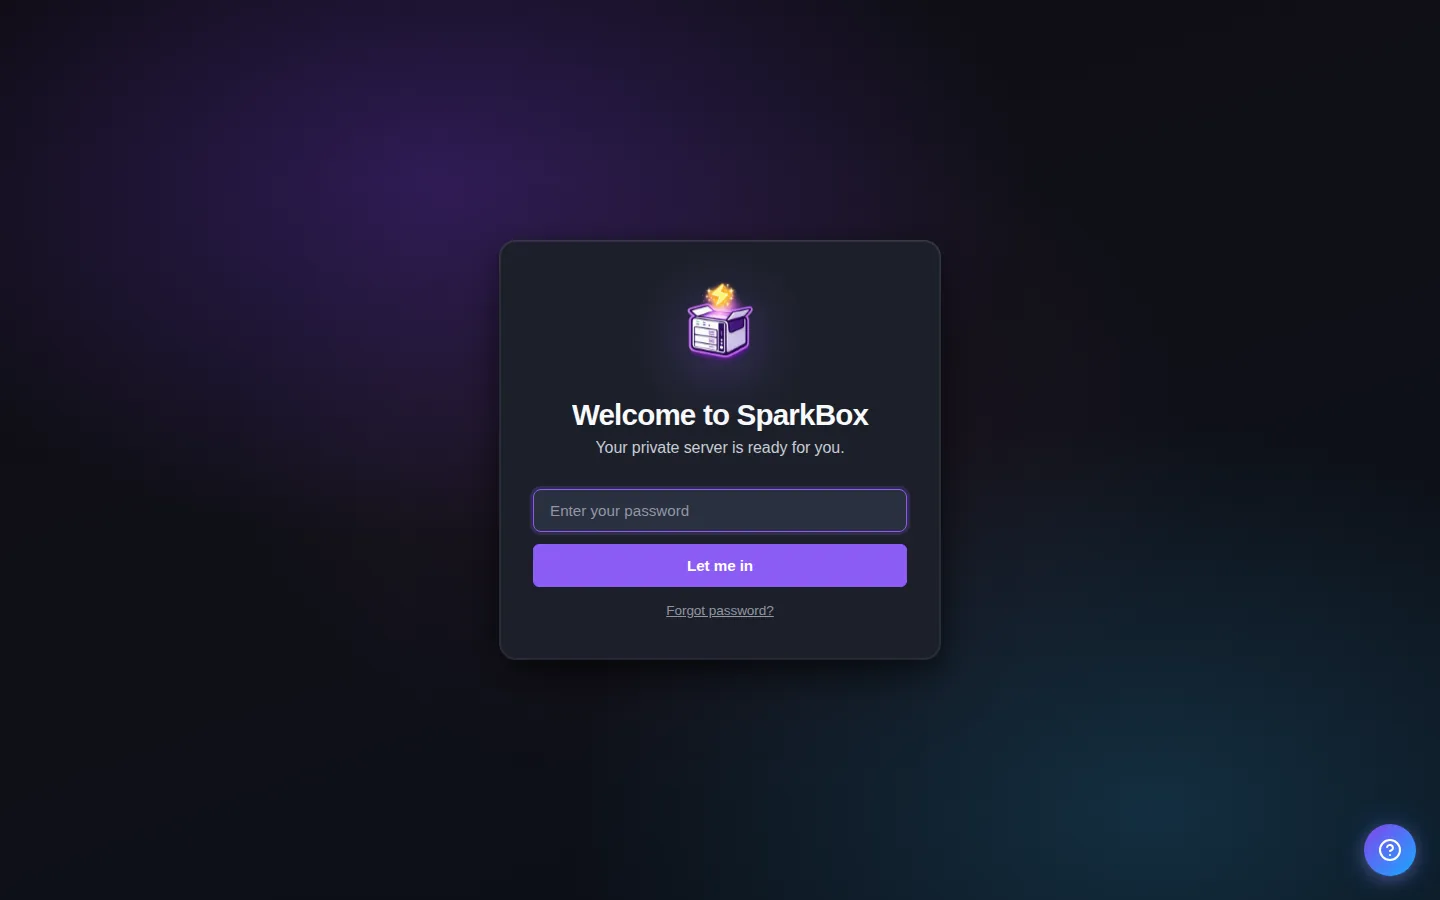
Two things to know. (1) Your vault starts with no account, and signup is switched OFF by default so nobody else can register on it — flip 'Allow Signups' ON in Settings → Apps → Vaultwarden to create yours, then switch it back OFF. (2) Your vault only unlocks on a secure web address — one that starts with https and shows a padlock. Easiest way in: use the Bitwarden phone app or browser extension. They connect straight to your NAS, no extra setup needed. After install, Settings → Passwords has the full walkthrough plus your admin code.
Open it
Dashboard → Apps → Vaultwarden → Open. The direct address on your network is:
http://<your-box-IP>:8222No account exists yet and signups are OFF by default — turn 'Allow Signups' ON in Settings → Apps → Vaultwarden to create yours, then turn it back OFF. The vault opens in a web browser tab only on a secure (https) address. The easy way to use it everywhere is the Bitwarden phone app or browser extension — point them at this NAS on port 8222. See Settings → Passwords.
First login
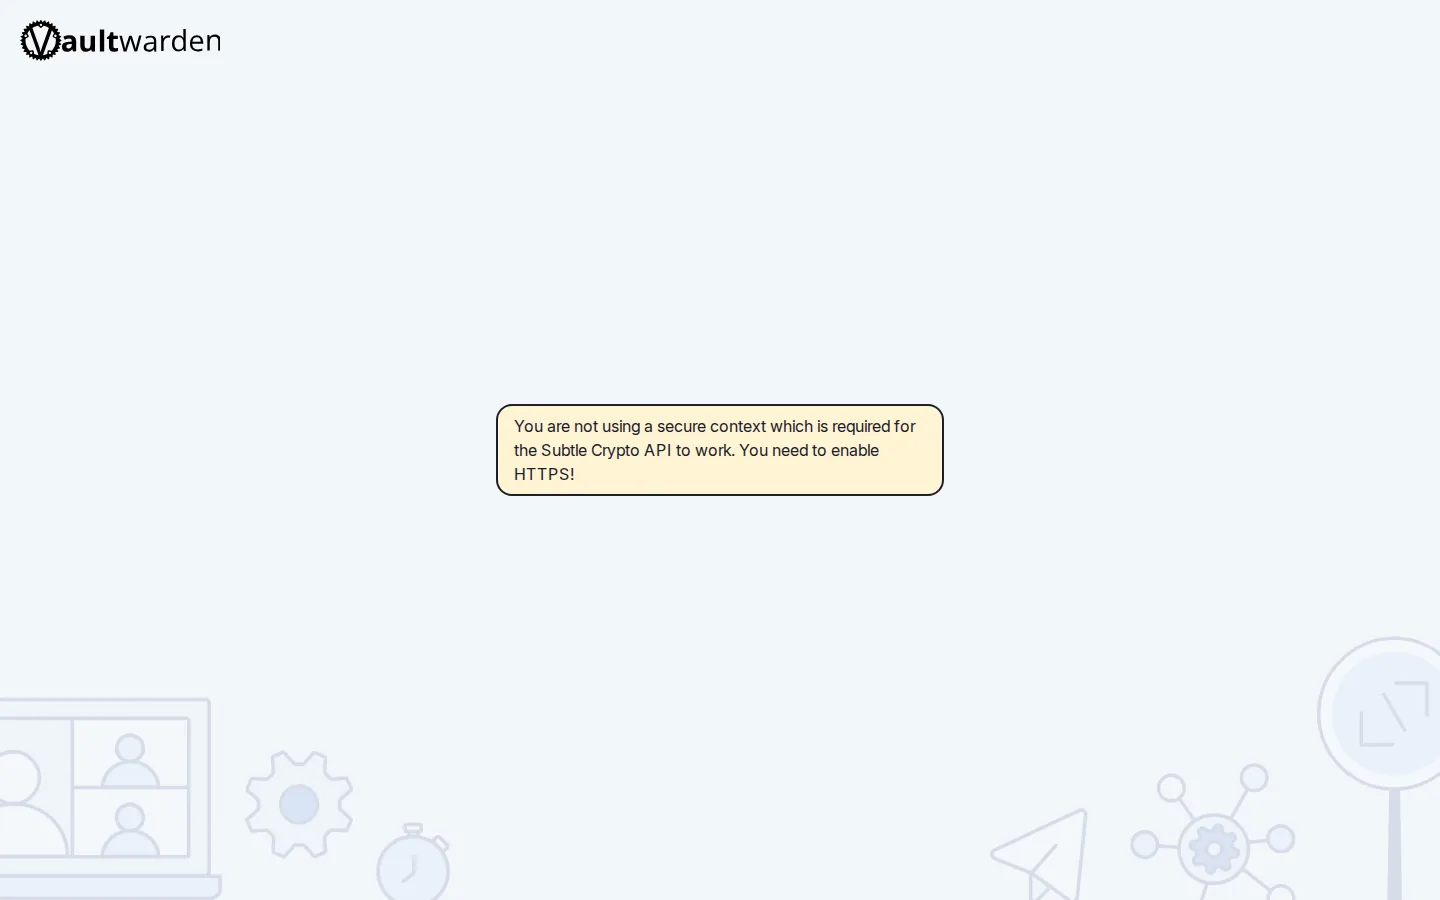
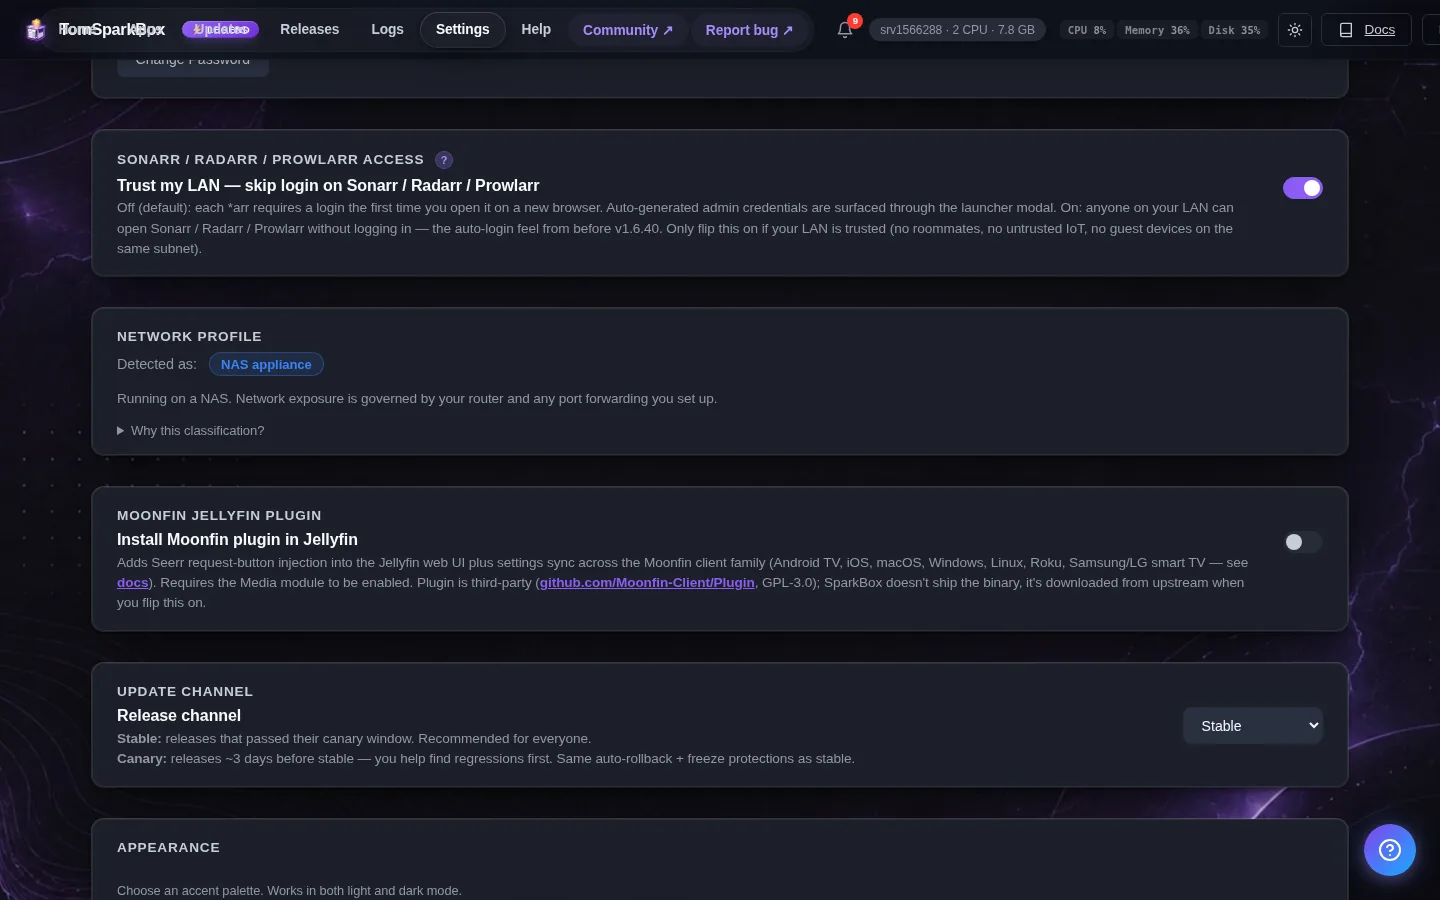
STEP 1 — MAKE YOUR ACCOUNT (do this first, or nothing below will let you in). A brand-new vault is empty: there is no account yet, and SparkBox ships with new-account signup switched OFF so that nobody else who can reach your box can register themselves on your vault. That means tapping 'Create account' in the Bitwarden app right now WILL be rejected. To create yours: go to Settings → Apps → Vaultwarden, switch 'Allow Signups' ON and save (SparkBox restarts Vaultwarden for you, which takes a few seconds). Now create your account — and one for your partner or anyone else you share with — using step 2 below. When everyone has an account, come back and switch 'Allow Signups' back OFF. Rather not open it up even briefly? Open http://NAS-IP:8222/admin/ in a browser (that page DOES work on a plain http address), sign in with the admin code shown below, and use 'Invite User' — an invited email address can register even while signups stay off. STEP 2 — REACH YOUR VAULT. Your vault only unlocks on a secure web address (one that starts with https and shows a padlock), so a plain browser tab on http won't open it. That's a built-in safety rule, not a bug. What works on the plain http address and what doesn't (this is Bitwarden's rule, not ours): (1) PHONE APP — install the Bitwarden app (iOS / Android), choose 'Self-hosted', set the Server URL to http://NAS-IP:8222 — the phone apps accept a plain http address on your home network. (2) BROWSER EXTENSION and DESKTOP APP — these REFUSE any http address by design (you'll see 'URLs must use https'; no setting bypasses it). To use them, give Vaultwarden a secure https address first: Settings → Custom Domains works with your own domain or a FREE DuckDNS name (turn on 'Use DNS challenge' and paste your DuckDNS token — no open ports needed; full recipe in the guide), then put that https:// address in as the Server URL. Same for using the vault in a regular browser tab. Your admin code (for the /admin page) is saved on the server in state/vaultwarden-admin-password.txt and is shown below.
Any password the installer generated for you is under Settings → Passwords; the Open button offers to copy it.
Settings that matter
Change these under Apps → Vaultwarden (or when you enable it):
- Allow Signups — OFF by default, so nobody else who can reach your box can register themselves on your vault. But a brand-new Vaultwarden has NO accounts at all — so you must turn this ON once to create your own account (and any for family), then turn it back OFF to lock the door behind you. Saving this restarts Vaultwarden so the change actually takes effect. Prefer to leave it OFF? Use the admin page instead: http://NAS-IP:8222/admin/ → Invite User. An invited address can still register while this stays OFF.
- Vault Domain
HTTPS with a free DuckDNS address (browser tabs & extensions)
The web vault, the browser extension, and the desktop app all insist on a secure (https) address. You don't need to buy a domain — a free DuckDNS name plus SparkBox's Custom Domains wizard gets you a real Let's Encrypt certificate in about five minutes.
- Get a DuckDNS name. Sign in at duckdns.org, add a subdomain (say
yourname.duckdns.org) and point it at your public IP — DuckDNS fills your current IP in for you. Copy the token shown at the top of the page. Home network only? Point the name at the box's LAN IP (e.g.192.168.1.50) instead — the certificate still works. - Open the wizard. In the SparkBox dashboard go to Settings → Custom Domains and enter
yourname.duckdns.orgas the Base Domain. - Turn on “Use DNS challenge”. Pick DuckDNS as the provider and paste your token into the credentials box like this:
The DNS challenge proves you own the name through DNS itself, so it works even when ports 80/443 aren't reachable from the internet (CGNAT, strict routers).
dns_duckdns_token = your-duckdns-token - Click Load Suggestions, tick Vaultwarden, then Set Up Selected. SparkBox creates
vault.yourname.duckdns.orgin Nginx Proxy Manager, points it at the vault, and requests the Let's Encrypt certificate. Give it a minute or two. - Point your apps at it. In the Bitwarden phone app, browser extension, or desktop app choose Self-hosted and set the Server URL to
https://vault.yourname.duckdns.org. The web vault now opens in a normal browser tab on the same address.
Good to know: DuckDNS answers any name under yours — vault.yourname.duckdns.org resolves to the same IP as yourname.duckdns.org — so one free name covers every app. To use the address from outside your home network, forward ports 80 and 443 on your router to the SparkBox; skip that and it stays LAN-only, which still covers everything on your Wi-Fi. Finally, set Vault Domain (Settings → Apps → Vaultwarden) to https://vault.yourname.duckdns.org so invite links and the web vault use the right address.
When it breaks
The problems people actually report with Vaultwarden, each with its own tested fix:
Anything else: the dashboard's checkup names the cause, and Tom AI can read the app's log for you.
Where your data lives
/opt/sparkbox/modules/vaultwarden/config/Included in the dashboard's Backup by default. Restoring that backup on a fresh install brings Vaultwarden back exactly as it was.
Questions, or did this not match your box?
Every guide here came from a real problem someone hit. If yours behaves differently, say so — that is how these get corrected, and how the fix gets prioritised.
We answer there rather than in a comment box, because that is where the people who have already solved it are.