How to Block Ads on Your Entire Network with Pi-hole
Pi-hole comes preinstalled and running on every SparkBox install — but most people stop there. The container is up, blocklists are loaded, the dashboard shows zero queries. That's because nothing on your network is actually asking Pi-hole anything yet. Here's how to finish the setup so every device in your house — phones, TVs, smart bulbs, the works — gets ads and trackers blocked automatically.
Tested on: UGREEN DXP4800 Plus running SparkBox v1.6.91 and Pi-hole 2024.07. Same steps work on any SparkBox install (NAS, mini-PC, VPS).
1. Log in to the Pi-hole admin
On a fresh SparkBox install, Pi-hole is reachable at:
http://<your-NAS-IP>:8053/admin/The trailing /admin/ matters — Pi-hole's web server returns 403 Forbidden on the root path (/) by upstream convention. If you see a 403, just add /admin/.
SparkBox auto-generated an admin password for you at install time. Three places to find it:
- Easiest: click the Pi-hole tile in the SparkBox dashboard. The launcher modal pops with the username (
admin) and the password right there. - From the Settings page: open SparkBox dashboard → Settings → Passwords. Every auto-generated credential lives here.
- Direct from disk: SSH into the NAS and
sudo cat /opt/sparkbox/state/pihole-admin-password.txt. Same value as the dashboard shows.
Paste the password into the Pi-hole login form. You're in.
2. Point your network at Pi-hole
This is the step almost everyone skips, then wonders why Pi-hole shows zero blocked queries. Pi-hole only blocks what asks it. Until you tell your network to use Pi-hole for DNS, nothing on it knows Pi-hole exists.
Two ways to do it. Router-level is the right answer — it covers every device automatically — but if your router doesn't allow it, per-device works too.
Option A: Router-level (best — every device covered)
Log in to your router's admin page. Find the DHCP section (sometimes LAN or Local Network). You're looking for a field called DNS Server, Primary DNS, or DHCP DNS.
Set the primary DNS to your NAS's IP address (the same one you used to reach the SparkBox dashboard). Leave secondary DNS blank, or set it to a fallback like 1.1.1.1 only if your router insists on a second value.
Save the change. Every device on your network gets a fresh DNS server the next time it renews its DHCP lease — usually within a few minutes for active devices, or instantly if you reboot the device. From that point on, every DNS lookup goes through Pi-hole.
One gotcha: some ISP routers ignore the DNS field and force their own DNS upstream. If yours does that, you've got two paths — set DNS manually per-device (Option B below), or replace the ISP router with your own (UniFi, OPNsense, even a basic ASUS — all respect the DNS field).
Option B: Per-device (when you can't change the router)
On each device that needs ad-blocking, set the DNS server manually:
- Windows: Settings → Network & Internet → your connection → Edit DNS settings → Manual → IPv4 ON → Preferred DNS = your NAS IP.
- macOS: System Settings → Network → your connection → Details → DNS tab → click + and add your NAS IP at the top.
- iOS: Settings → Wi-Fi → (i) next to your network → Configure DNS → Manual → Add Server, paste NAS IP. Drag it to the top.
- Android: Settings → Network & internet → long-press your Wi-Fi → Modify → Advanced → IP settings = Static → DNS 1 = NAS IP.
This is fine for a small number of devices, but you have to do it once per device, and it doesn't cover guests or anything that joins the network later.
3. Verify it's actually blocking
Quick sanity test from any device on the network:
# Should return 0.0.0.0 (blocked):
nslookup doubleclick.net

# Should return a real IP (not blocked):
nslookup github.com
If doubleclick.net returns a real IP, your device isn't actually using Pi-hole yet — its DNS is still pointing somewhere else. Reboot the device or run ipconfig /flushdns (Windows) / sudo killall -HUP mDNSResponder (macOS) to force a re-lookup.
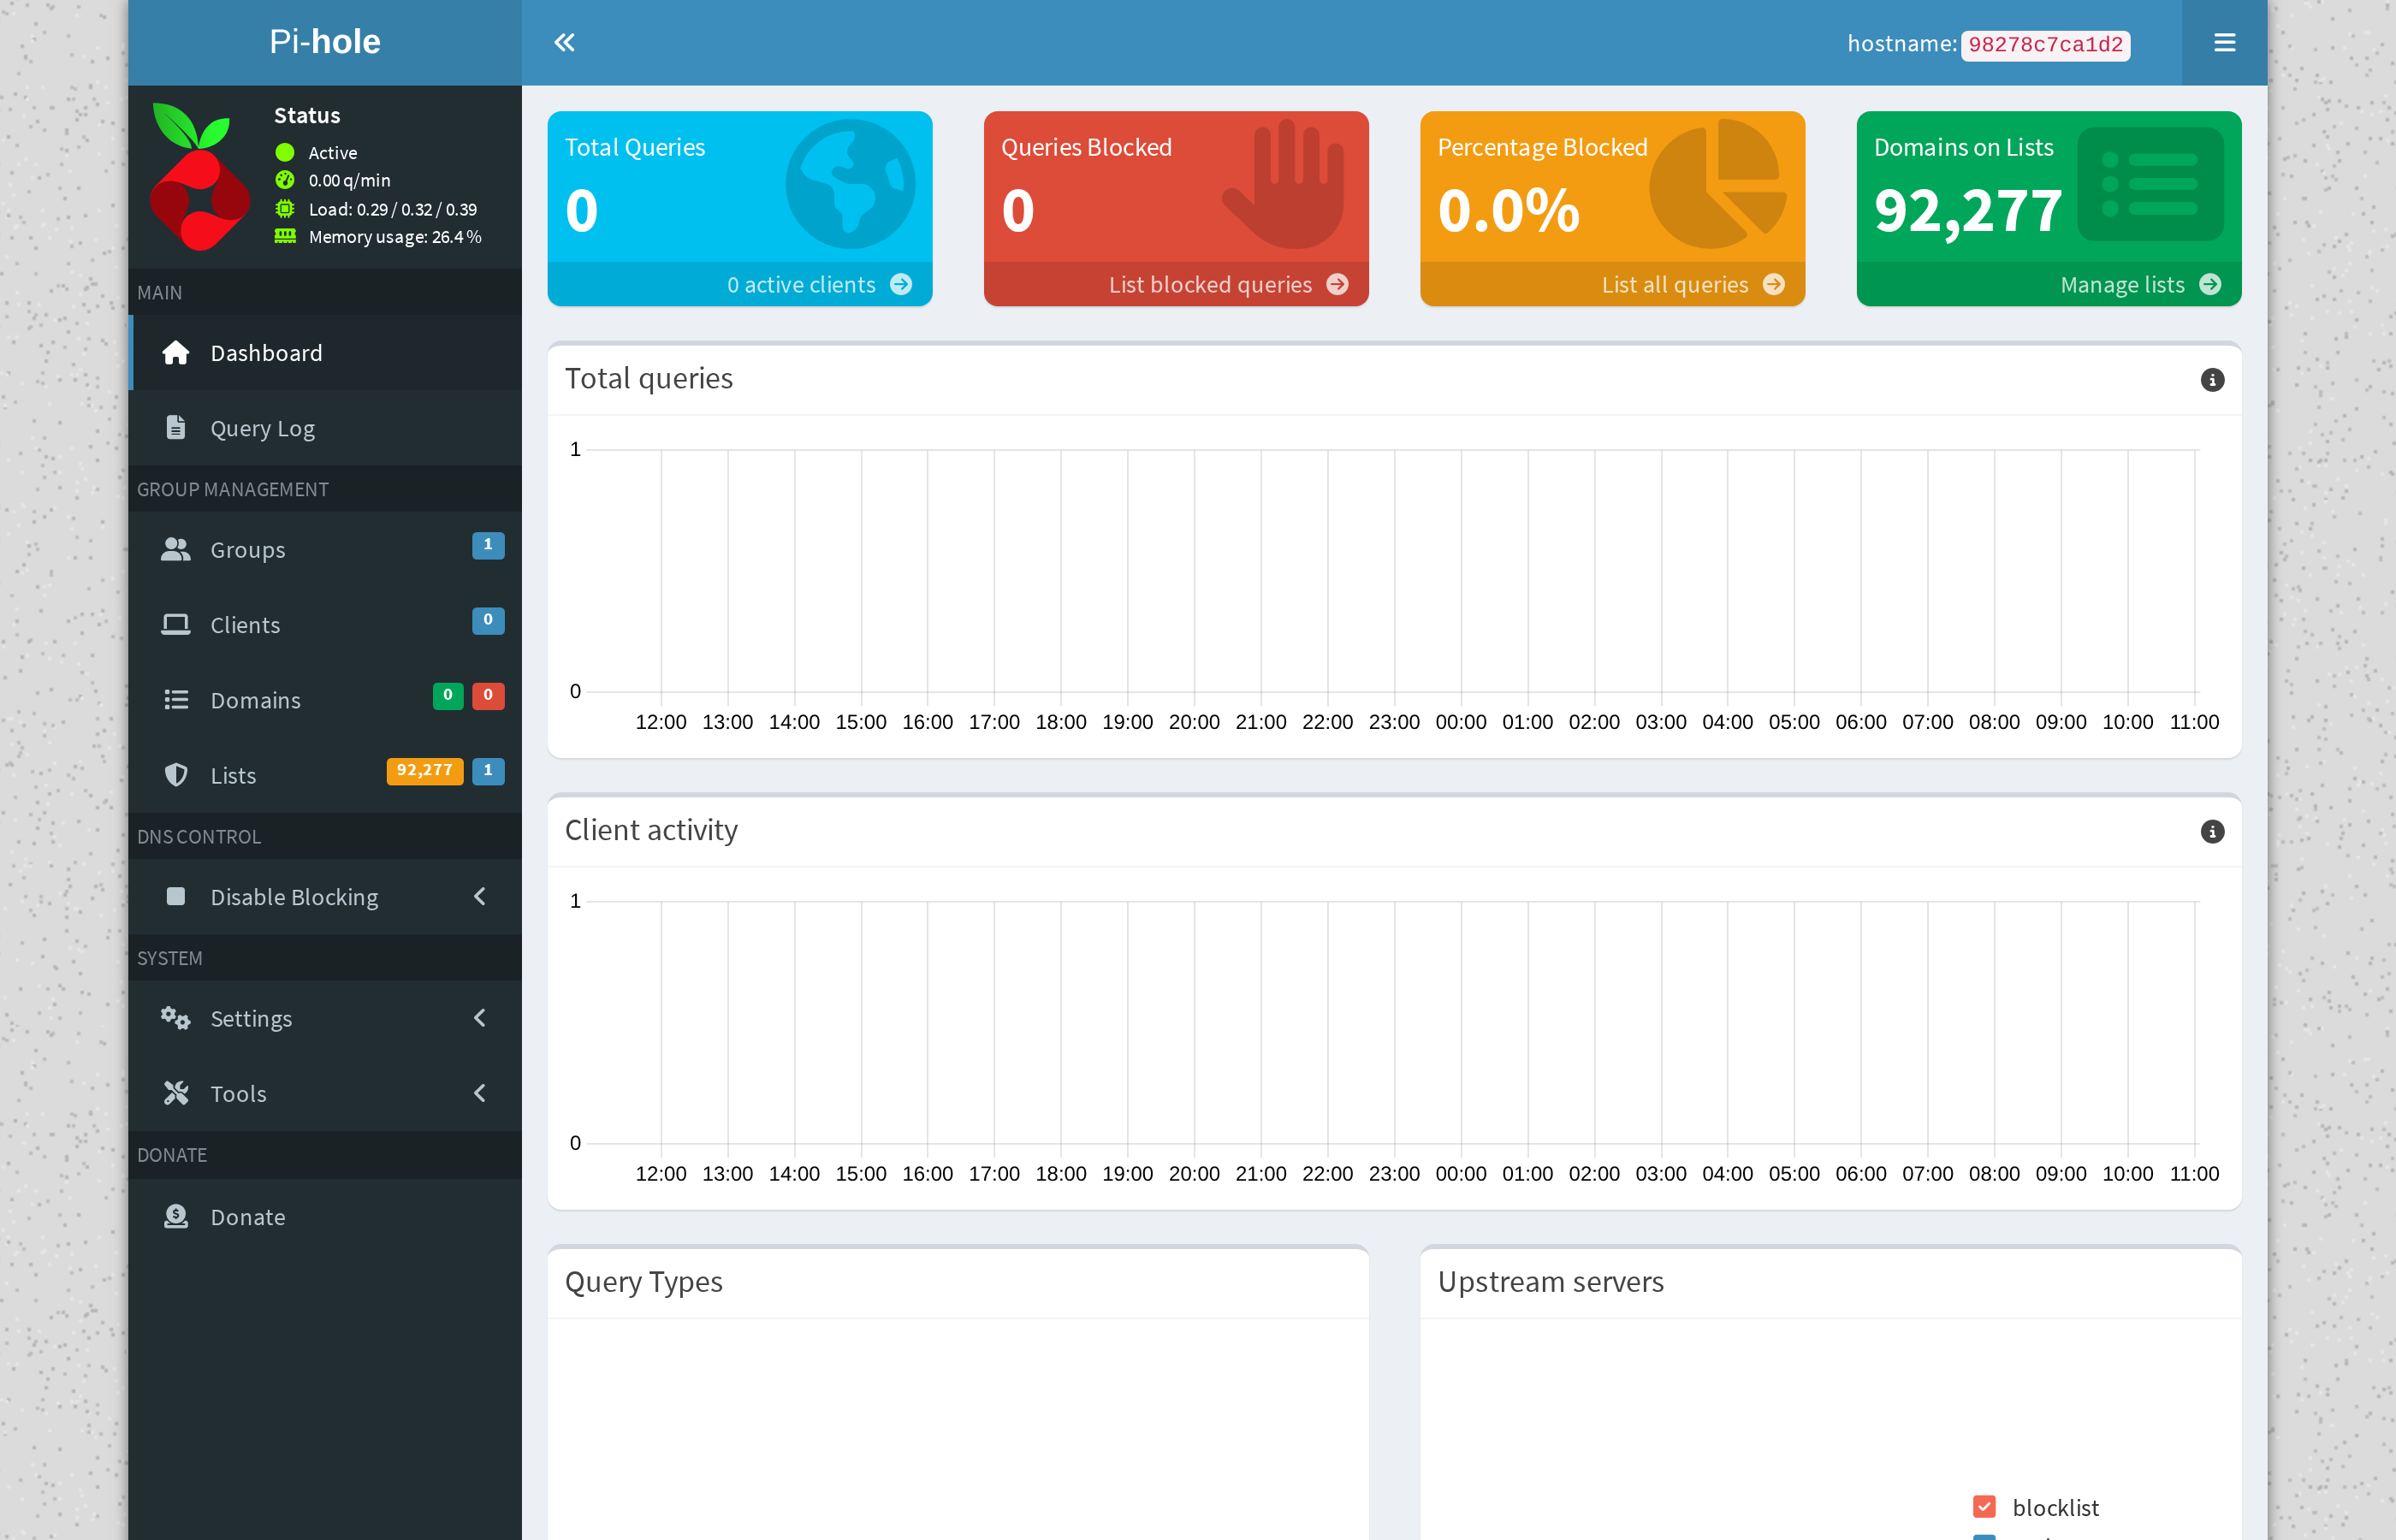
The visual confirmation is the Query Log in the Pi-hole admin. It shows every DNS request your network has made in real time, with each blocked query highlighted in red. Open a few apps on your phone, watch the blocks scroll by. That's the moment it clicks.
4. Add more blocklists
Pi-hole ships with one default blocklist — StevenBlack/hosts — that covers maybe 130,000 known ad and tracker domains. That's a great baseline, but the community maintains a ton more for specific categories: malware, phishing, smart-TV telemetry, crypto miners, etc.
In the Pi-hole admin, go to Group Management → Adlists. Paste a blocklist URL into the Address field, add a comment so you remember what it is, and click Add.
Good starter set (paste each URL, one at a time):
# Smart TV telemetry
https://perflyst.github.io/PiHoleBlocklist/SmartTV.txt

# Malware domains
https://urlhaus.abuse.ch/downloads/hostfile/

# Tracking and ads (mahakala — aggressive)
https://raw.githubusercontent.com/StevenBlack/hosts/master/alternates/fakenews-gambling-porn/hosts
After adding lists, go to Tools → Update Gravity and click Update. Gravity is Pi-hole's term for the database it builds from all your adlists; it has to rebuild for new entries to take effect.
Tip: resist the urge to subscribe to every blocklist on the internet. Each new list adds a few hundred thousand domains, and the overlap is huge. Three or four well-chosen lists block 99% of what an over-eager dozen would, with less risk of false positives. The "How big is your blocklist?" arms race is a meme — quality > quantity.
5. Whitelist apps that break
Aggressive blocklists occasionally break things. The usual suspects: banking apps that talk to ad-tech domains for fraud-detection, streaming apps that route auth through ad servers, smart speakers that won't pair if telemetry is blocked. When something stops working, it's almost always one specific blocked domain — not the entire app.
The fix is fast once you know the move:
- While the broken app is open, go to Pi-hole → Query Log.
- Filter by client (the device that's running the broken app).
- Look for recent red rows — those are the blocks. The domain on the right is what's being blocked.
- Click the domain, then click Whitelist. Done.
You don't need to restart Pi-hole — whitelisted domains take effect on the next query (within seconds). Re-open the broken app, it'll work.
If you're not sure which of several recent blocks is the offender, whitelist them all temporarily, confirm the app works, then re-block them one at a time to find the culprit.
6. Bonus: UGREEN telemetry is pre-blocked
If you're running SparkBox on a UGREEN NAS, there's a related thing worth knowing — UGOS phones home to servers in Hong Kong and mainland China by default. Pi-hole on SparkBox is configured with a UGREEN-telemetry blocklist that drops those requests automatically, without you having to add anything.
The blocked domains are ugnas.com, ug.link, ugreen.cloud, and a few related Crashlytics endpoints. Check the Pi-hole Query Log filtered by your NAS's IP and you'll see them get blocked every few minutes.
If you specifically don't want this — say you use UGREEN's WebFind feature on purpose — go to Group Management → Domains in Pi-hole admin and remove the relevant entries from the blocklist. For most SparkBox users this is "set and forget."
The full story on UGREEN telemetry (and why we block it by default) is in the separate guide: How to Make Your UGREEN NAS Completely Private.
Next steps
Pi-hole is the first half of network privacy.
The other half is encrypted DNS — making sure your ISP can't see which domains you're looking up, even if Pi-hole then blocks half of them. Pi-hole on SparkBox can act as a DNS-over-HTTPS forwarder out of the box; the config lives in Settings → DNS. For most home networks this combo plus a real VPN on the router (or per-device, like Surfshark / WireGuard) covers the whole picture.
If you don't have SparkBox yet, this is roughly two hours of setup compressed into a curl-one-liner that does it all.