How to Make Your UGREEN NAS Completely Private
You just bought a UGREEN NAS. Great hardware — Intel CPU, silent, low power, runs Docker. But out of the box, UGOS phones home to servers in China. Here's what it sends, why that matters, and how to stop all of it.
Tested on: UGREEN DXP2800 running UGOS Pro, April 2026. Real hardware, real network traffic analysis, real screenshots.
1. What your UGREEN NAS sends home
UGOS Pro — the operating system on every UGREEN NAS — connects to several external servers by default:
- ugnas.com — UGREEN's cloud platform. Handles remote access (so you can reach your NAS from outside your home), device registration, and telemetry. Servers are in Hong Kong and mainland China.
- ug.link — UGREEN's URL shortener / relay service. Used for the "share a link" feature.
- ugreen.cloud — Additional cloud services infrastructure.
- crashlytics.com — Google's crash reporting service. UGOS sends crash dumps here when something goes wrong.
None of this is malicious — it's standard NAS functionality (Synology and QNAP do the same thing with their own servers). But if you bought a NAS specifically for privacy, having it phone home to external servers defeats the purpose.
The good news: you can shut all of it down without losing anything you actually need. Everything UGOS's cloud features do can be replaced with self-hosted alternatives that keep traffic on your own network.
2. Disable telemetry in UGOS settings
Start here — these are the software-level switches inside UGOS itself.
Cloud Connect
Open Control Panel → Network → Cloud Connect. Toggle it off. This disables UGREEN's remote-access relay, which routes traffic through their servers in Hong Kong. You'll set up your own secure remote access (WireGuard or Tailscale) later.
WebFind
Same area — uncheck Enable WebFind. This unregisters your NAS from find.ugnas.com, which is UGREEN's "find my NAS" service. You don't need it because you'll know your NAS's local IP address.
Usage Analytics
Open Control Panel → General. Look for a Usage Analytics or User Experience Program toggle and turn it off. This stops UGOS from sending anonymous usage data.
These settings remove the opt-in telemetry. But UGOS may still make DNS lookups and connection attempts to UGREEN's servers. To stop those, you need DNS-level blocking.
3. Block telemetry domains with DNS
DNS blocking intercepts every network request from the NAS before it leaves your network. If the NAS tries to connect to ugnas.com, the DNS blocker returns nothing, the connection never happens, and the telemetry is silently dropped.
You have two options:
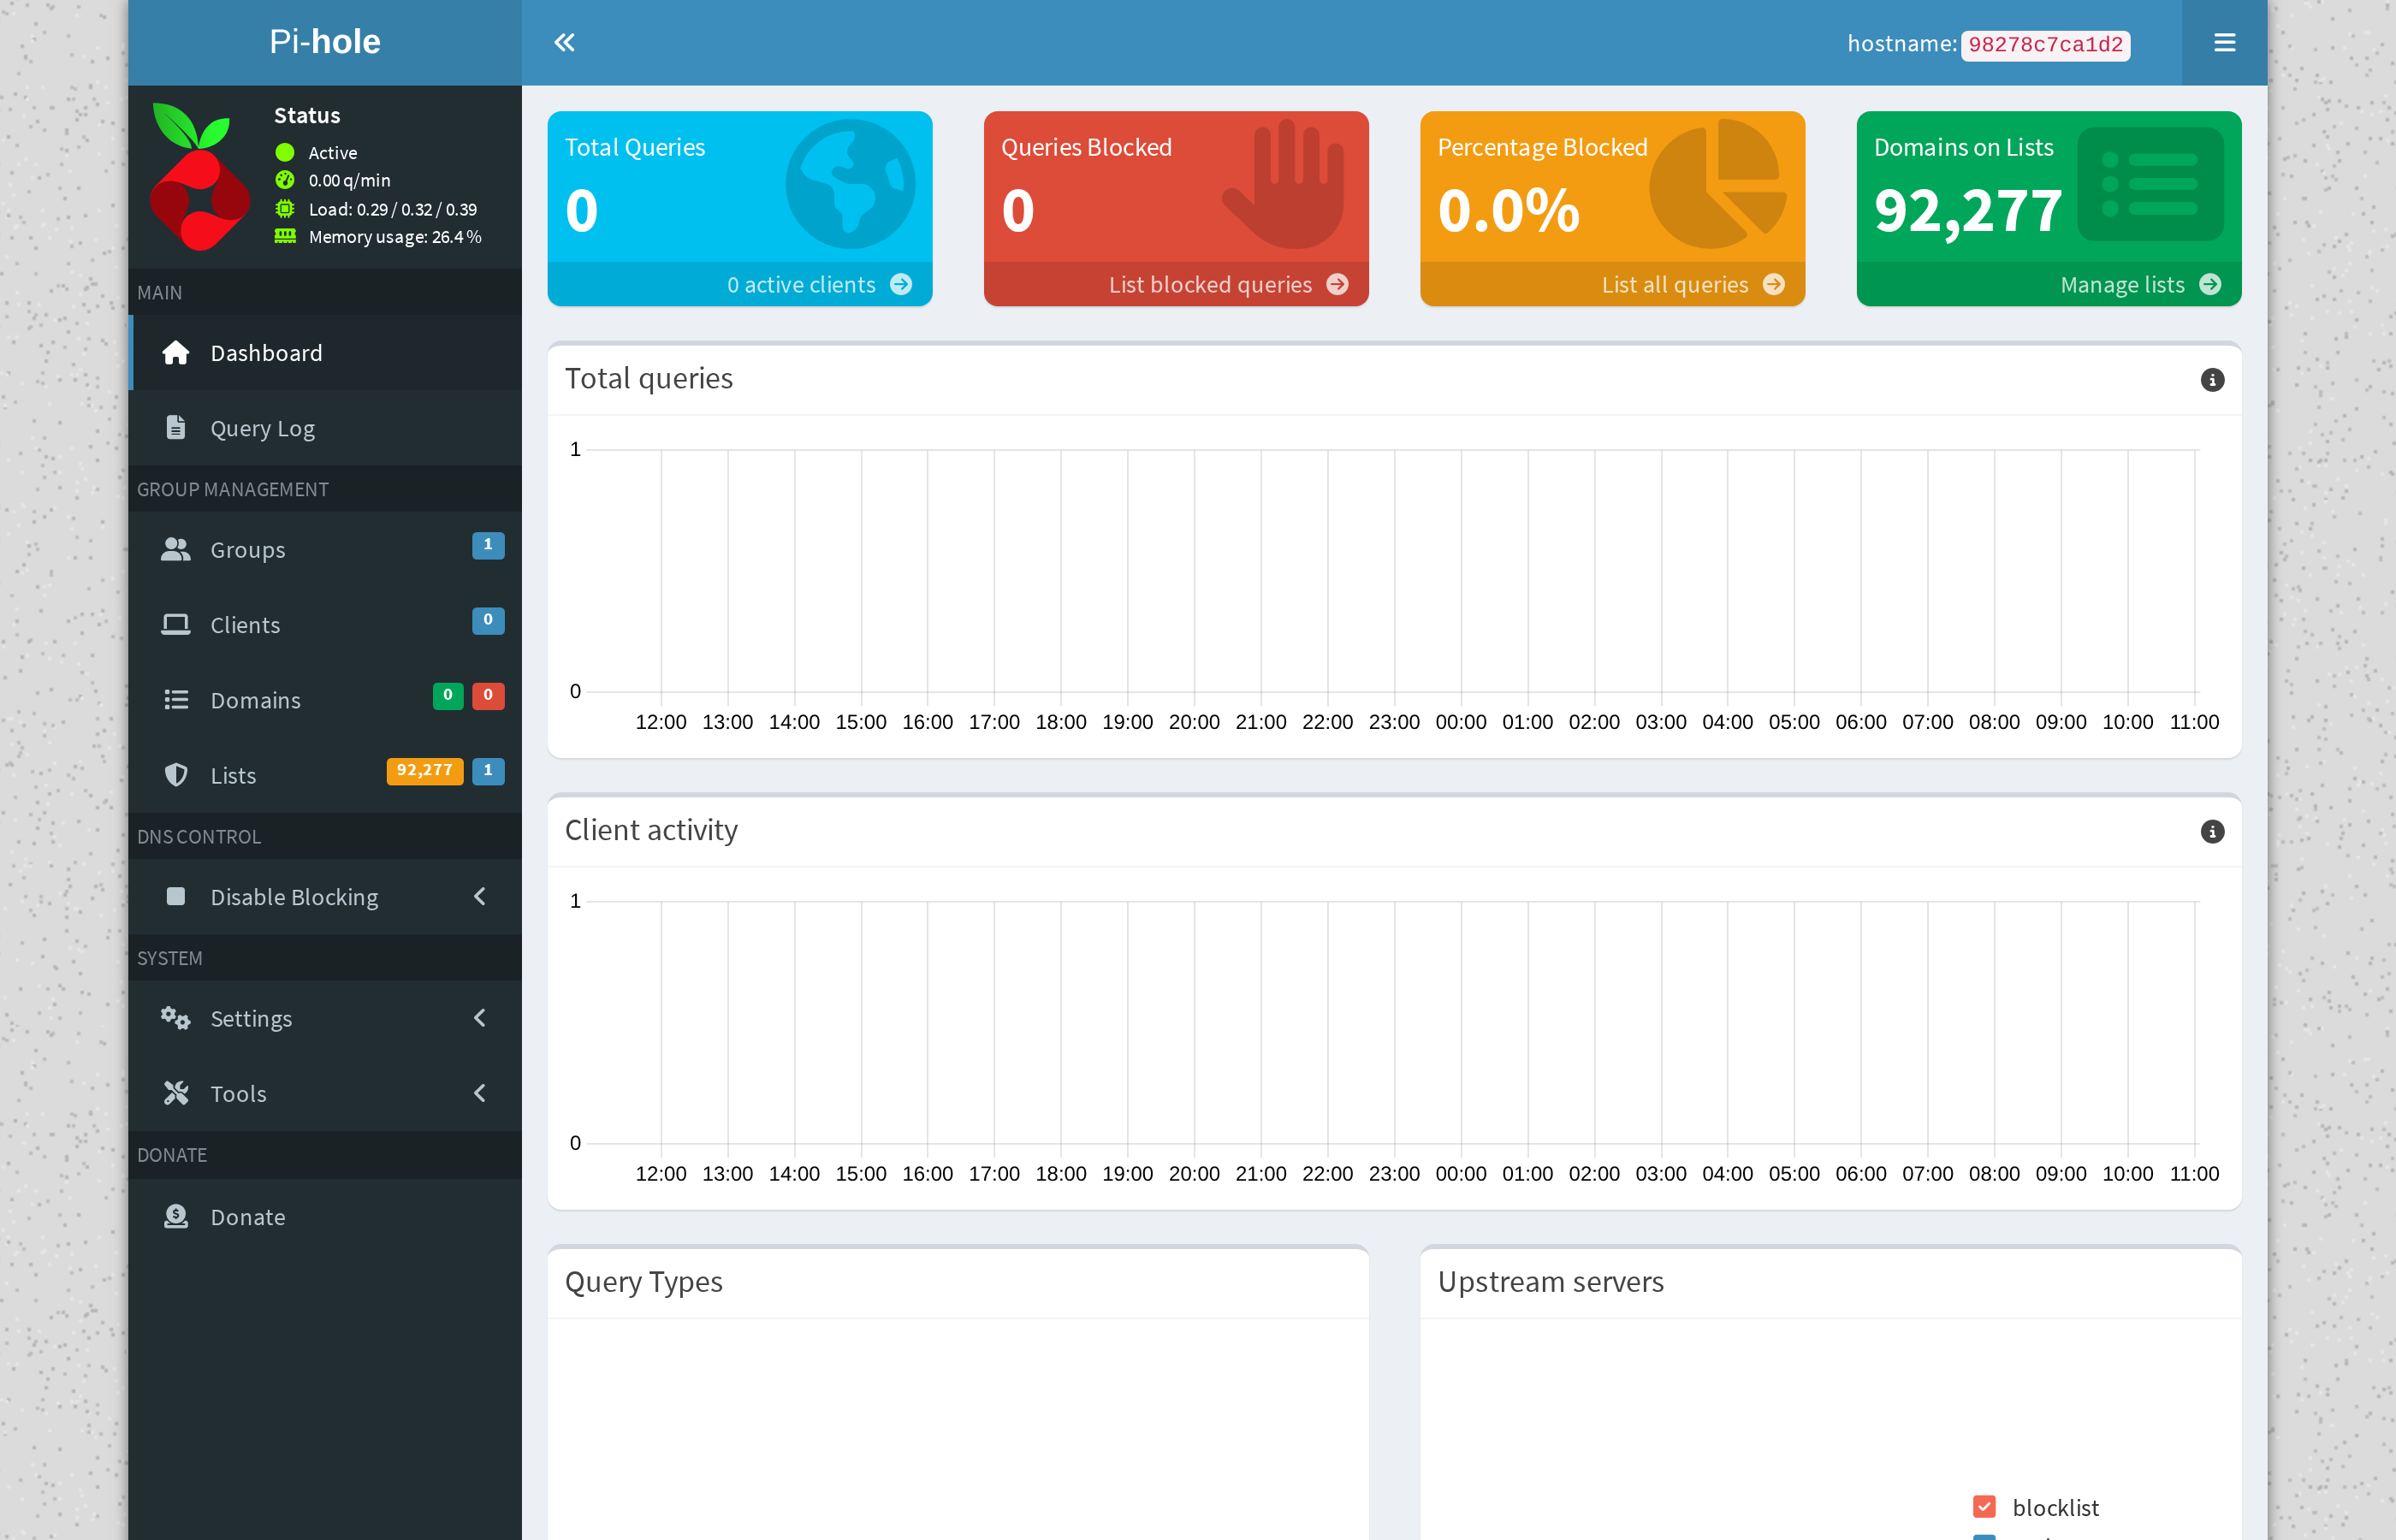
Option A: Pi-hole (recommended)
Pi-hole is a self-hosted DNS blocker that runs on your NAS itself. It blocks ads, trackers, and telemetry domains for every device on your network — not just the NAS.
Add these domains to Pi-hole's blocklist:
ugnas.com
ug.link
ugreen.cloud
crashlytics.com
Once blocked, any UGOS process that tries to reach these domains gets a silent failure. Docker, Let's Encrypt, and everything else you actually need resolves normally because those are completely different domains.
Option B: Router-level blocking
If you can't run Pi-hole yet, most routers let you block domains in their DNS settings or firewall rules. The domains are the same — add them to your router's blocklist. This is less elegant but works immediately without installing anything on the NAS.
4. Replace UGREEN's remote access
You just disabled UGREEN's Cloud Connect, which means you can't reach your NAS from outside your home anymore. That's intentional — their relay routed your traffic through Chinese servers.
Replace it with one of these self-hosted alternatives:
WireGuard
A lightweight VPN that creates an encrypted tunnel directly between your phone/laptop and your NAS. No relay servers, no third parties. Traffic goes straight from your device to your home network. Fast enough to stream video through.
Tailscale
A zero-config mesh VPN built on WireGuard. Easier to set up than raw WireGuard — install the app on your devices, log in, and your NAS appears as if it's on your local network even when you're on the other side of the world. Tailscale's coordination server sees metadata (which devices are online) but never your actual traffic — that goes directly between your devices.
Both options keep your remote access encrypted and under your control. No Chinese relay servers in the path.
5. Verify it's actually blocked
After setting everything up, verify the blocks are working:
# From any device on your network:
nslookup ugnas.com
# Should return 0.0.0.0 or NXDOMAIN (blocked)

nslookup docker.io
# Should return a real IP (not blocked — Docker still works)
You can also check Pi-hole's query log to see blocked requests in real time. If UGOS tries to phone home, you'll see it get blocked.
6. Or just automate all of it
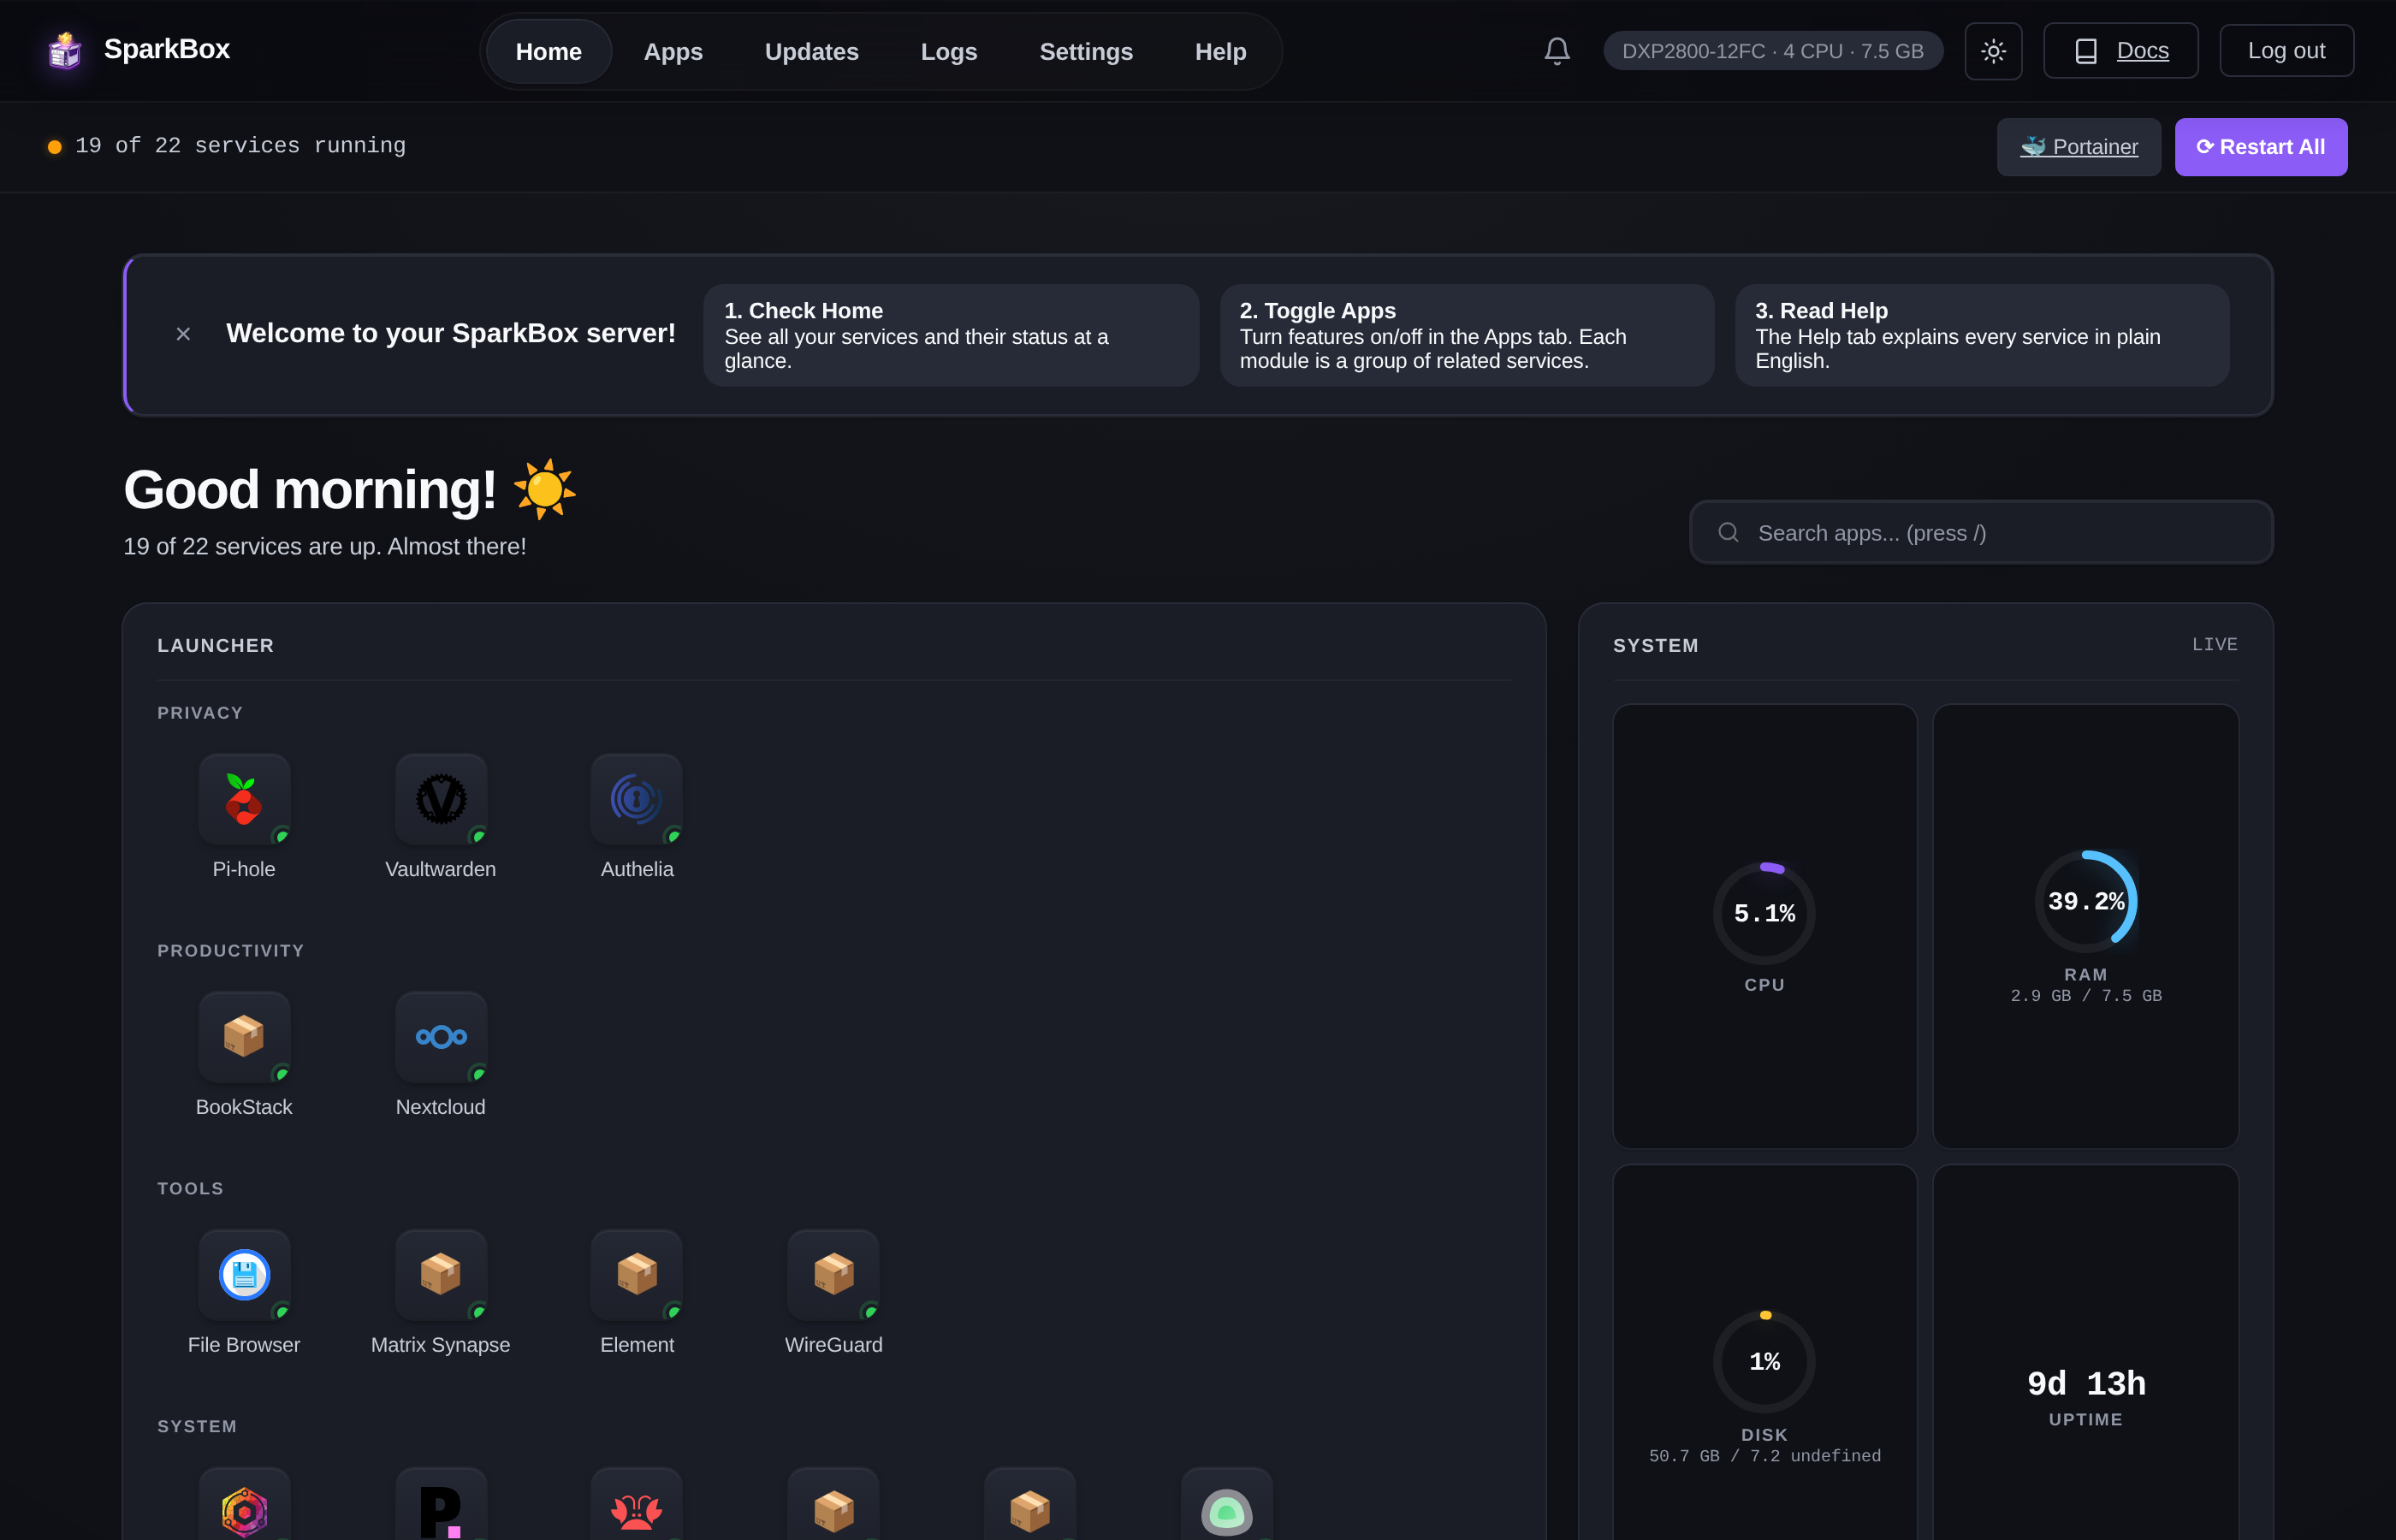
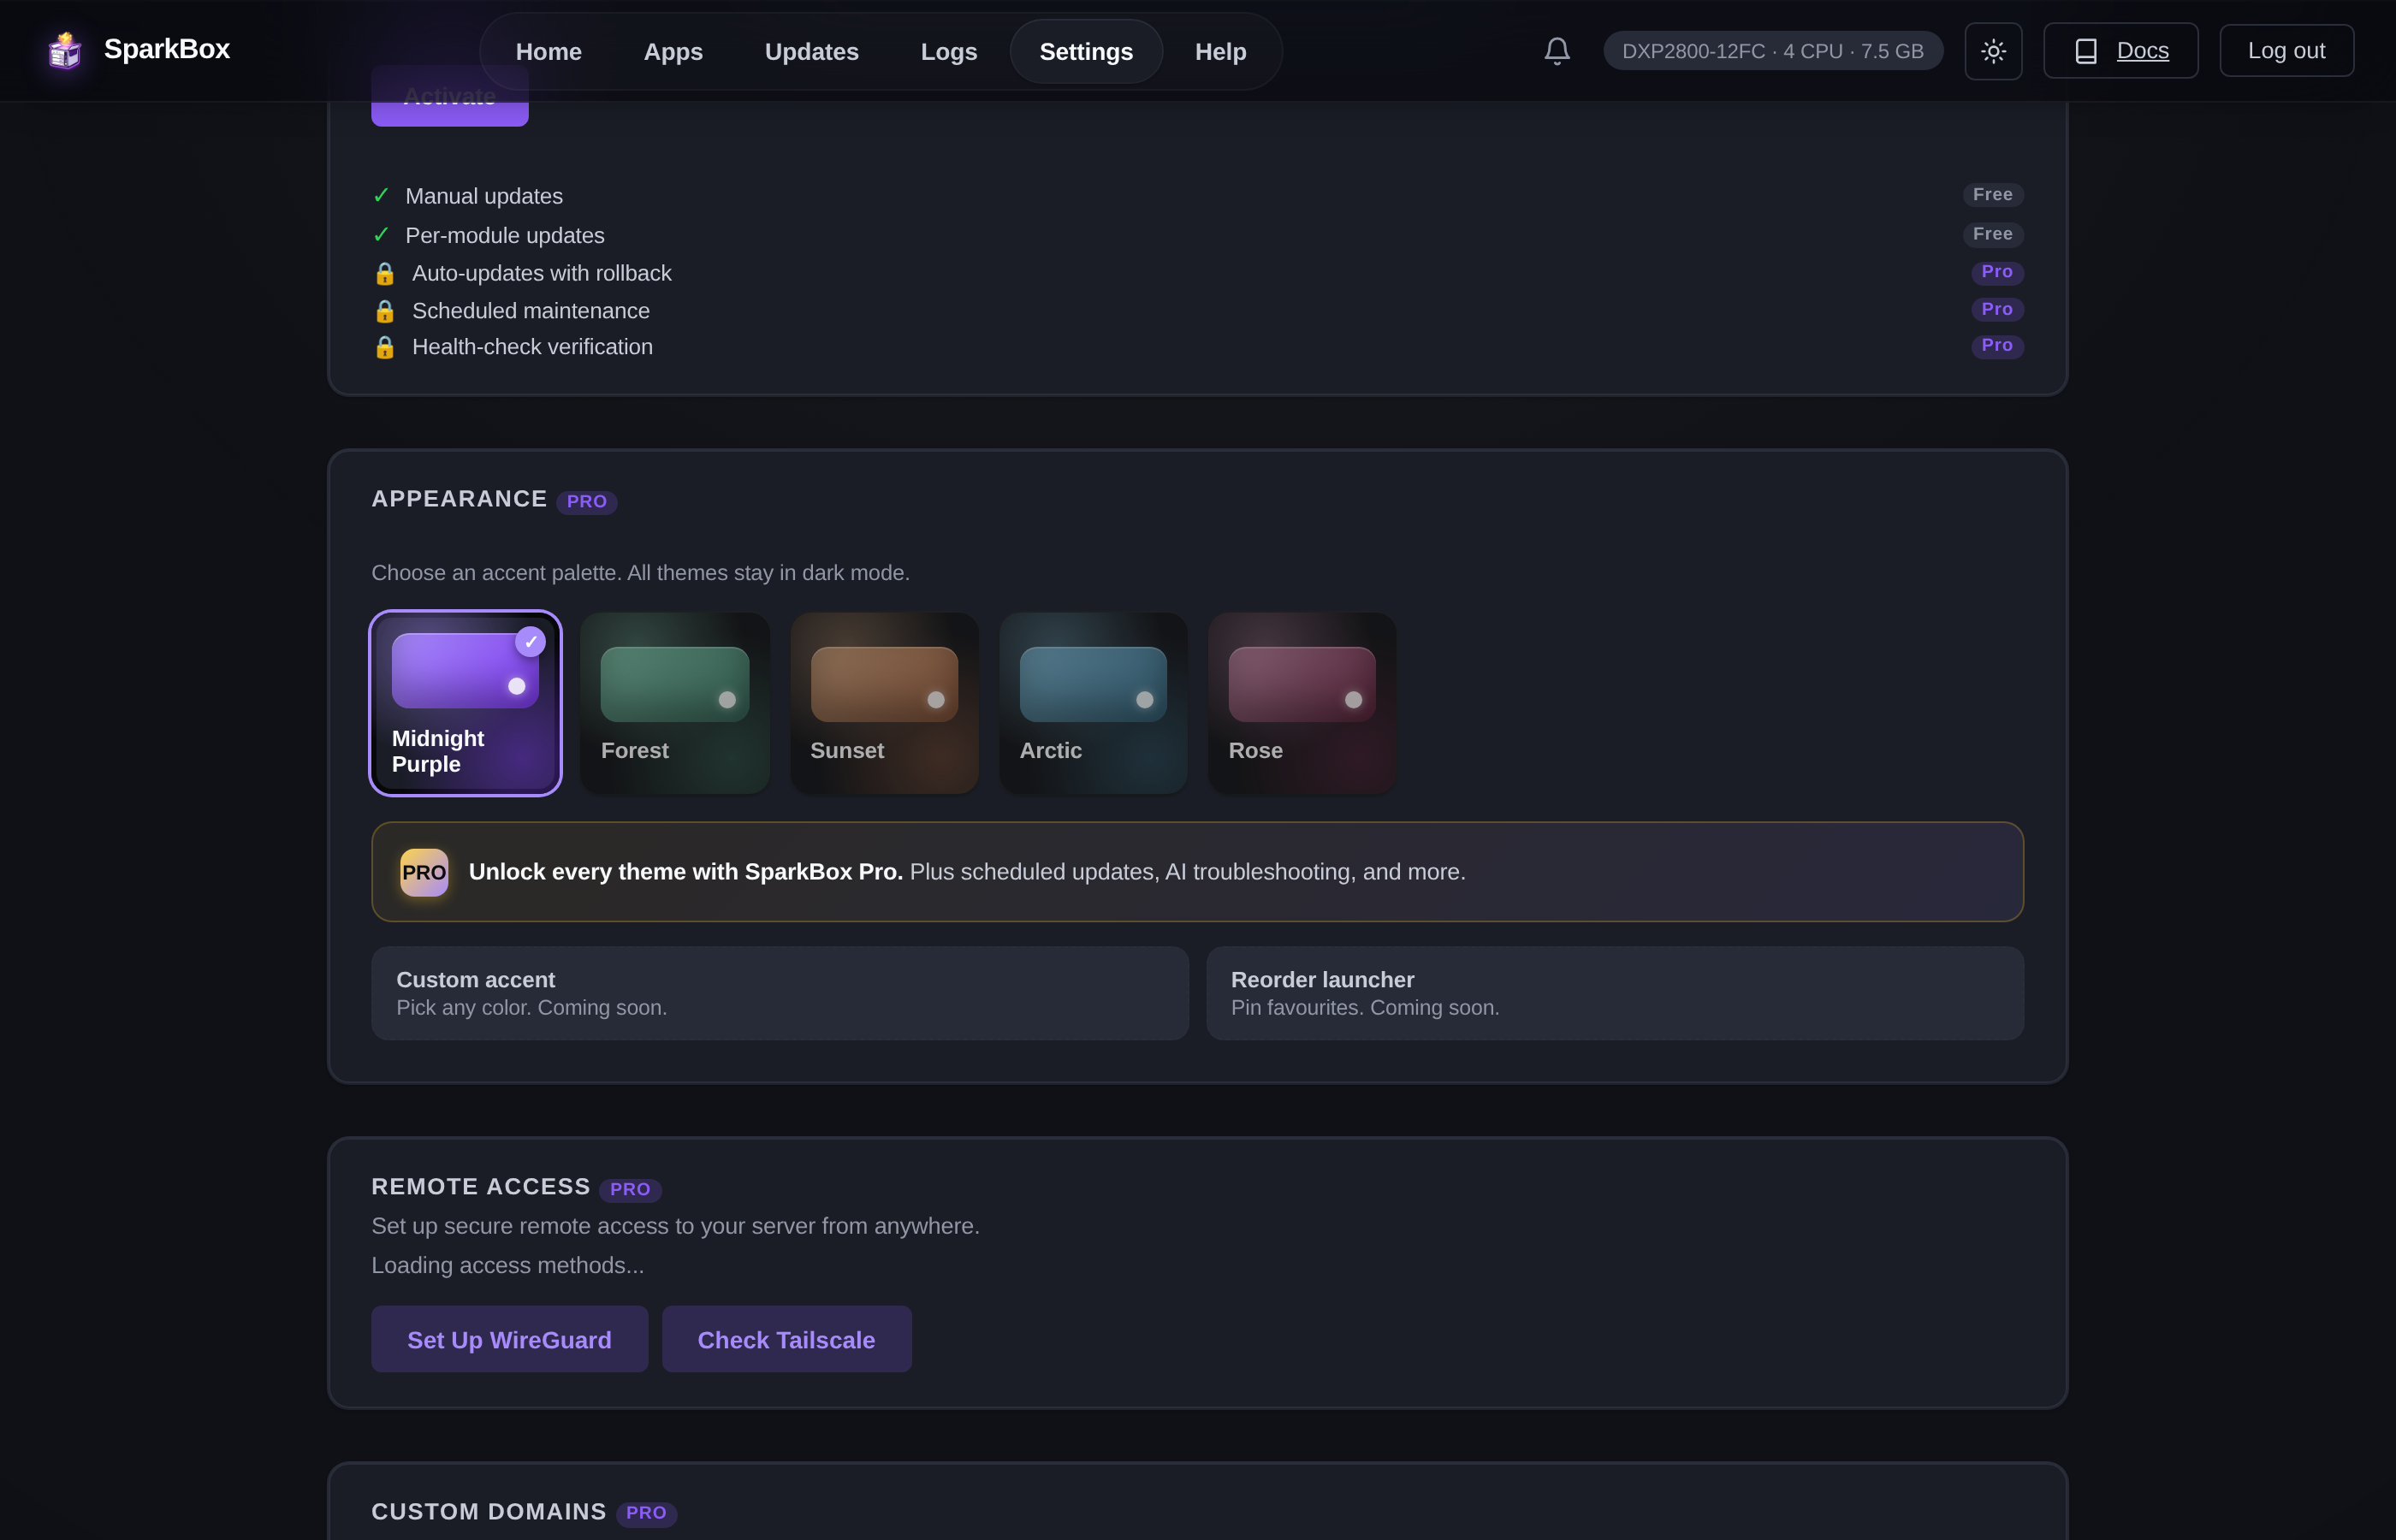
SparkBox does this automatically.
SparkBox is a one-command installer that sets up Pi-hole, WireGuard, and 35+ other self-hosted apps on your UGREEN NAS. The UGREEN telemetry blocklist is pre-configured — the moment Pi-hole starts, ugnas.com, ug.link, ugreen.cloud, and crashlytics.com are already blocked. No manual setup.
It also installs Vaultwarden (self-hosted password manager), Nextcloud (your own cloud storage), Jellyfin (private media server), and everything else you need to actually use the NAS the way you meant to.